Blocks and Models
Blocks
This package provides the ability to modify blocks at specified coordinates.Block is an immutable datatype defined in src/blocks.jl.
struct Block
    id::Int
    data::Int
end
The id defines the type of block (like cobblestone, wool, wood,.etc) and the data attribute defines additional characteristics of the block, on default every block has its data set to 0. For example, Wool's block id is 35, Block(35,0) refers to a block of white wool. Different wool colors can be accessed by changing the data attribute. Red Wool is Block(35, 14), Pink Wool is Block(35,6) and so on. A complete reference can be found in the documentation.
| Id | Name | Subtype | Image | Data |
|---|---|---|---|---|
| 35 | Wool | White | 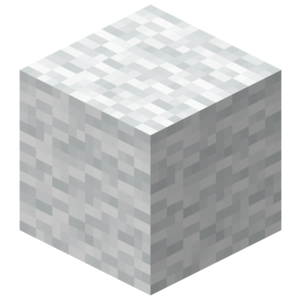 | 0 |
| Orange | 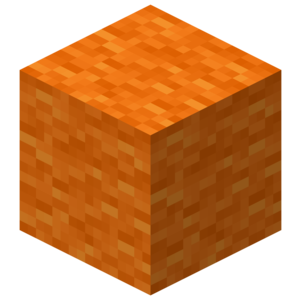 | 1 | ||
| Magenta | 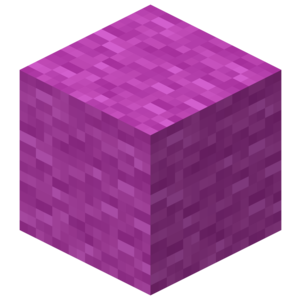 | 2 | ||
| Light Blue | 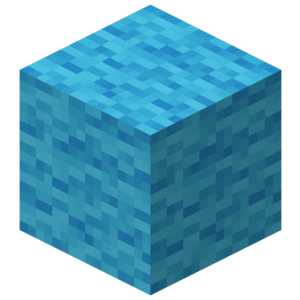 | 3 | ||
| Yellow |  | 4 | ||
| Lime |  | 5 | ||
| Pink |  | 6 |
- Place Block:
setBlock(Tuple{Int,Int,Int}, block::Block)- Place the specified
Blockat the specified coordinates.
- Place the specified
- Place Blocks:
setBlocks(p1::Tuple{Real, Real, Real}, p2::Tuple{Real, Real, Real}, block::Block)- Set an entire region to the specified block type defined by the corners
p1andp2.
- Set an entire region to the specified block type defined by the corners
- Get Block information:
getBlock(Tuple{Int,Int,Int})- Returns the
Blockpresent at the specified coordinates.
- Returns the
While getBlock and setBlock functions will accept any Real as arguments these will be rounded to Int as a block cannot be placed on non-integer coordinates.
Models
The minecraft community has made a large number of fantastic creations over the years. Models allow us to share, collaborate and improve their work. Generally, Models are shared in the .schematic file format which is a type of NBT file(Named Binary Type). What we mean by a Model is a 3-Dimensional array of Blocks(Array{Block, 3}). minecraft-schematics and planetminecraft are popular websites which host community provided schematic files. Schematic files are the standard way to import and export models using software like MCEdit and WorldEdit.
Importing .schmatic files
Let's try to import a sample file. It's named sample.schematic and located in the example folder.
This is the model we will be importing: 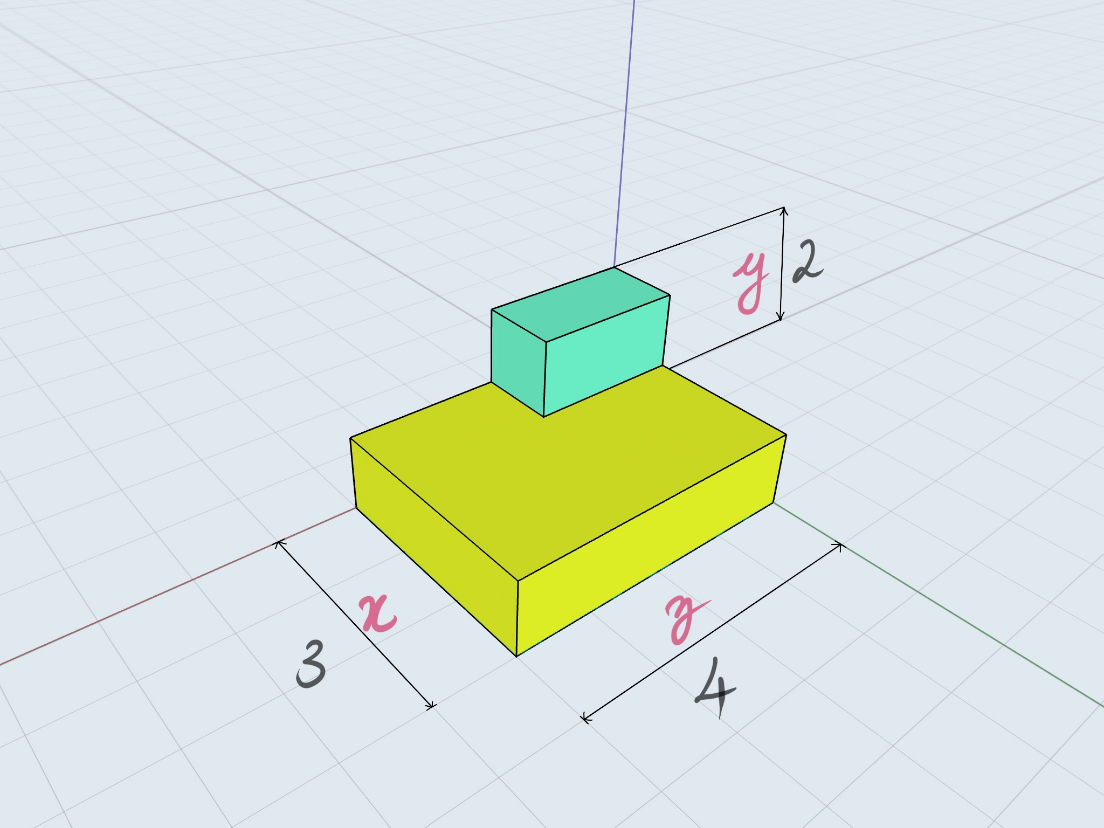
It's composed of gold and diamond blocks as the colors indicate and the coordinate axes have been marked.
The schematic file can be found in the Examples folder or here
Copy this file to a convenient location like your desktop or documents folder. Now to go to this location we can use the Command Prompt/Shell commands.
Enter the ; character to go into shell mode in a Julia REPL interface. Or you could also use the run() command. For instance to find your current location use cd on Windows and pwd on linux/MacOS.
shell> ls
appveyor.yml  example	  Manifest.toml  README.md  src
docs	      LICENSE.md  Project.toml	 REQUIRE    test

shell> cd ~/Documents
/home/user/Documents

julia> run(`ls`)
sample.nbt
Process(`ls`, ProcessExited(0))
Now to import our model use the importSchematic(filename::AbstractString) function.
m = importSchematic("./sample.schematic")
3×2×4 Array{Block,3}:
[:, :, 1] =
 Block(41, 0)  Block(0, 0)
 Block(41, 0)  Block(0, 0)
 Block(41, 0)  Block(0, 0)

[:, :, 2] =
 Block(41, 0)  Block(0, 0)
 Block(41, 0)  Block(0, 0)
 Block(41, 0)  Block(0, 0)

[:, :, 3] =
 Block(41, 0)  Block(0, 0)
 Block(41, 0)  Block(0, 0)
 Block(41, 0)  Block(57, 0)

[:, :, 4] =
 Block(41, 0)  Block(0, 0)
 Block(41, 0)  Block(0, 0)
 Block(41, 0)  Block(57, 0)
It would be helpful to try to relate the information above with the illustration of the model. Notice the indexing is [X, Y, Z]
Model Functions
Here are the functions you can use with models
buildModel(m::Array{Block,3}, pos::Tuple{Real, Real, Real})copyModel(p1::Tuple{Real, Real, Real}, p2::Tuple{Real, Real, Real})cutModel(p1::Tuple{Real, Real, Real}, p2::Tuple{Real, Real, Real}, block::Block = Block(0, 0))flip(A::Array{Block, 3}, dim::Symbol)rotate(A::Array{Block, 3}; dir::Symbol = :l, dim::Symbol = :x)
To build the model:
julia> pos = getTile()

julia> buildModel(m, pos)

julia> #= This should have build a model, Look in the southeast direction.
          Now to copy the model, we must know it corner's coordinates.      =#
julia> size(m)
(3, 2, 4)

julia> m2 = copyModel(pos .+ (1, 0, 1), pos .+ size(m) .- (0, 1, 0));

julia> m2 == m
true

julia> cutModel(pos .+ (1, 0, 1), pos .+ size(m) .- (0, 1, 0))

julia> # The build model should now me replace by air.
Flipping and rotating are operations essential to constructing symmetric structures.
flip() can perform a flip in the x-y(:z), y-z(:x) or x-z(:y) plane. To flip our model upside down we have to flip it in the x-z plane.
julia> m2 = flip(m, :y)
3×2×4 Array{Block,3}:
[:, :, 1] =
 Block(0, 0)  Block(41, 0)
 Block(0, 0)  Block(41, 0)
 Block(0, 0)  Block(41, 0)

[:, :, 2] =
 Block(0, 0)  Block(41, 0)
 Block(0, 0)  Block(41, 0)
 Block(0, 0)  Block(41, 0)

[:, :, 3] =
 Block(0, 0)   Block(41, 0)
 Block(0, 0)   Block(41, 0)
 Block(57, 0)  Block(41, 0)

[:, :, 4] =
 Block(0, 0)   Block(41, 0)
 Block(0, 0)   Block(41, 0)
 Block(57, 0)  Block(41, 0)

 julia> buildModel(m2, pos)
It would be helpful if you try to understand how the Array changes upon a flip. Similarly try to flip the model in other dimensions and build it to see the changes. (flip(m, :x) & flip(m, :z))
Rotating a model requires two parameters. 1. The plane in which we will rotate. (dim) (:x, :y, :z) 2. Direction of rotating.(dir) (:l, :r)
Like flipping :x as the dimension indicates a rotation in the y-z plane. And similarly for other dimensions as well. :l indicates a rotation in the counter-clockwise direction and :r indicates a rotation in the clockwise direction when you are looking in the positive direction of the dimension.
Unlike flipping, a rotation might change the dimension of the model.
Here, a script which shows a rotation animation.
julia> for i in 1:4
            cutModel(pos .+ (1, 0, 1), pos .+ size(m) .- (0, 1, 0), Block(0,0))
            m = rotate(m, :l, :y)
            buildModel(m, pos)
            sleep(1)
        end
Here we build a Model, wait for a second, remove it, rotate it and repeat for 4 times.